To onboard Emailgistics, most of the work is done through a PowerShell script. If you are using Microsoft Windows, PowerShell is typically preinstalled. If not, you can download it from Microsoft’s app store.
Please ensure that you have PowerShell version 5.1 or later to run Emailgistics’ script. To check your PowerShell version, open PowerShell and enter $PSVersionTable in the command line.
When using PowerShell scripts that access Exchange Online and Microsoft Graph, administrators should verify appropriate permissions are in place. Ensure the following modules are present in your PowerShell environment:
Microsoft Graph Module:
To install (if not present): `Install-Module -Name Microsoft.Graph -Scope CurrentUser`
To check if it is installed: `Get-InstalledModule -ListAvailable -Name Microsoft.Graph`
If you use any network-related antivirus software, such as Sentinel One, we recommend that you allow the execution of PowerShell scripts that access Exchange Online. This will ensure that Emailgistics can access the necessary resources to provide you with a seamless onboarding experience.
Once you confirm everything in our Onboarding checklist, you are ready to onboard your mailbox with Emailgistics.
Shared Mailbox Authentication Onboarding Method
Once you confirm everything in our Onboarding checklist here you are ready to Onboard your first mailbox with Emailgistics.
Follow these simple instructions get supercharge your first mailbox:
- Navigate to the Emailgistics web page.
Go to www.emailgistics.com.
- From the Emailgistics home page click on sign in.
You will authenticate with Microsoft single sign-on (SSO).
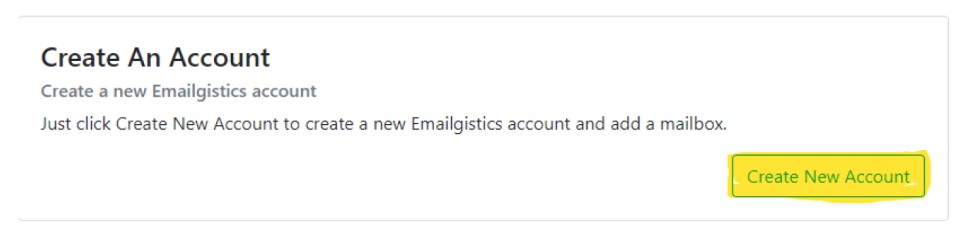
- You will be required to create a new account, simply click on Create New Account.
- Provide the name of the organization and name of Shared mailbox and click Add Mailbox.

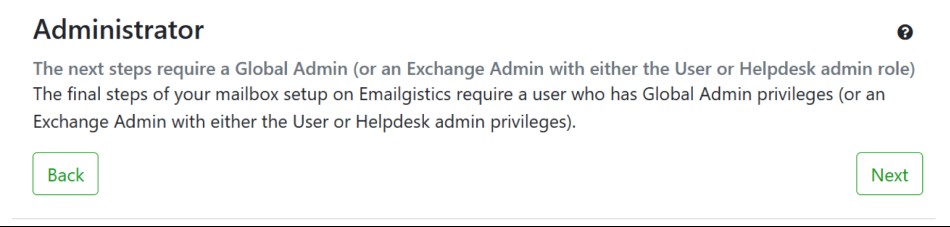
- You will be redirected to a page that requires you to confirm if you are a Global Admin in O365. If not a Global admin you will have to have the global admin from your organization execute the rest of the onboard process.
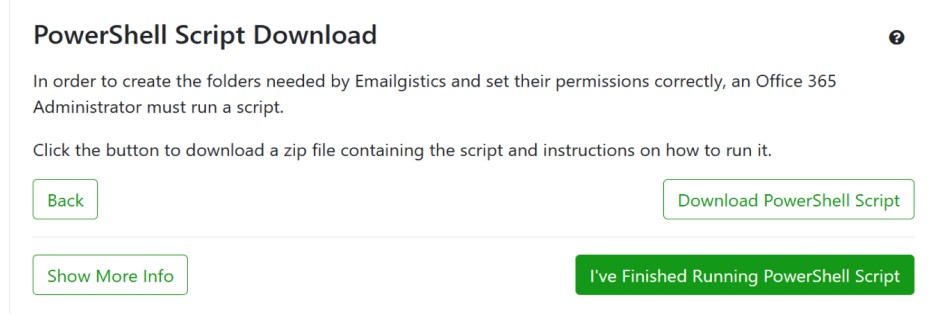
- Once the Administrator is confirmed, they will have access to download our PowerShell script which will need to be extracted from the ZIP file and ran using PowerShell 5.1 on a windows 10 machine or later.
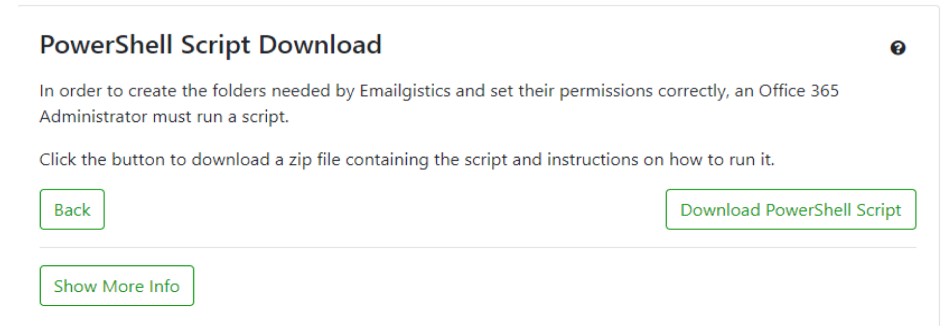
- Download the PowerShell script and extract it from its zip file. Ensure that both the Onboard.ps1 file and the Customer.JSON file are extracted to the same location.
- Right-click on the Onboard.ps1 file and select “Run with PowerShell“. Note that some networks or VPNs may require you to run the script as an administrator or while on the organization’s network.
- The script will prompt you for all required steps within PowerShell. Simply follow the prompts to complete the onboarding process.
- After the PowerShell script has finished running, go back to the browser window where you initiated the onboarding process and click “I’ve finished running PowerShell script“.
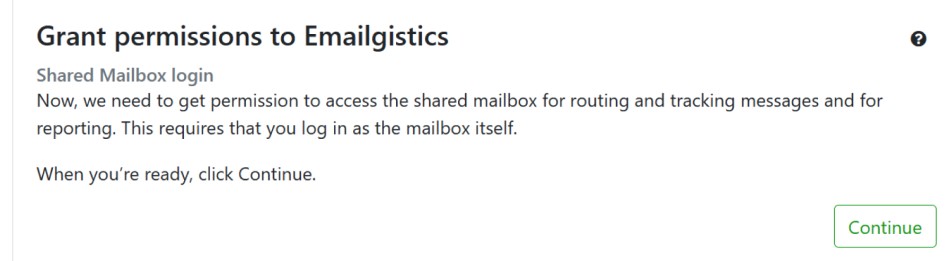
- Click “Continue” to grant permissions to Emailgistics.
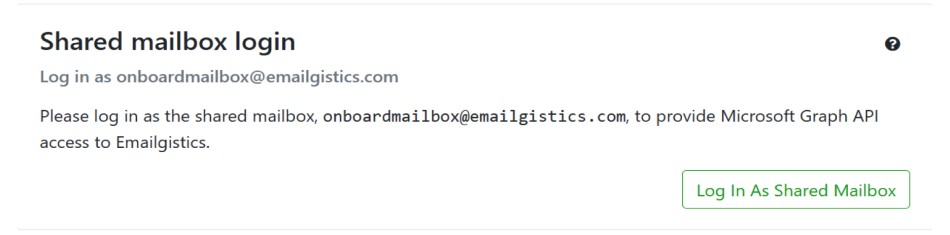
- On the next page, click “Log in as Shared Mailbox.” You will need to have the shared mailbox password ready, as it will be required in the SSO window that Microsoft prompts.
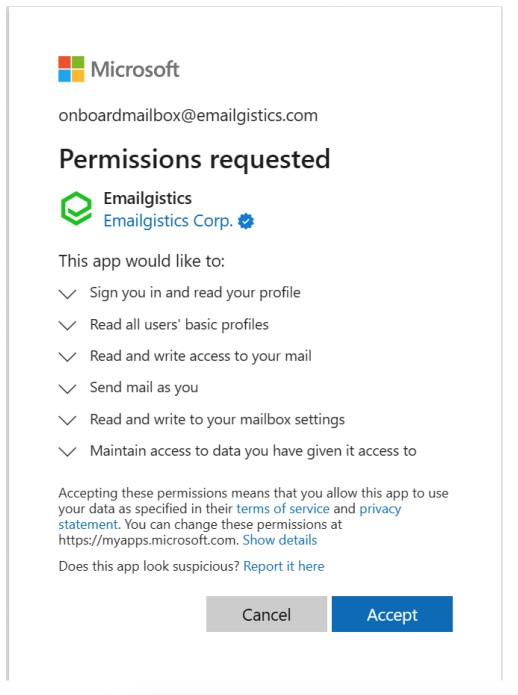
- Sign in using the mailbox email and password (not your own credentials), then review and accept permissions for Emailgistics.
- Click “Set up mailbox.” Note that if the inbox folder contains over 1000 emails, this step will fail. See the onboarding checklist for more information.

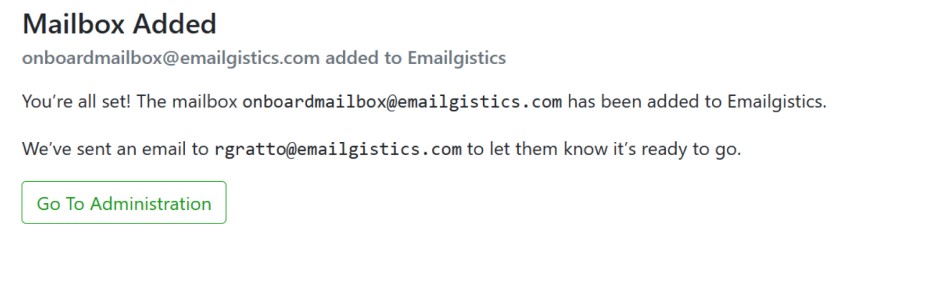
- Congratulations, your mailbox has been successfully added! You are now ready to check out our administration center.